I’ve completed 18 beginner-friendly Arduino projects. These projects are simple, easy to understand, and a fun way to learn about electronic components. 😊
- Traffic LEDs with 3 LEDs
- LED Control Using a Push Button
- Passive Buzzer Sound
- Active Buzzer Sound
- RGB LED Color Mixing
- Potentiometer-Controlled LED Brightness
- Potentiometer-Controlled LED and Sound
- Automatic Night Lamp
- Servo Motor Sweep
- Ultrasonic Distance Finder
- DHT11 Weather Monitor
- Fire Sensor Alarm
- I²C LCD Display Basics
- I²C LCD Temperature Display
- Stepper Motor Control
- 1-Digit Seven-Segment Display
- 4-Digit Seven-Segment Display
- 8×8 Dot Matrix Display
18 Arduino Projects for Beginners: LEDs, Sensors, Motors, and Displays
After building the first Arduino Blink LED project, it’s time to explore more possibilities with Arduino. In this collection, we’ll look at 18 beginner-friendly projects covering LED control, sound generation, sensors, motor control, and digital displays.
Each project demonstrates a different concept in electronics and embedded programming, helping you gradually build practical Arduino skills.
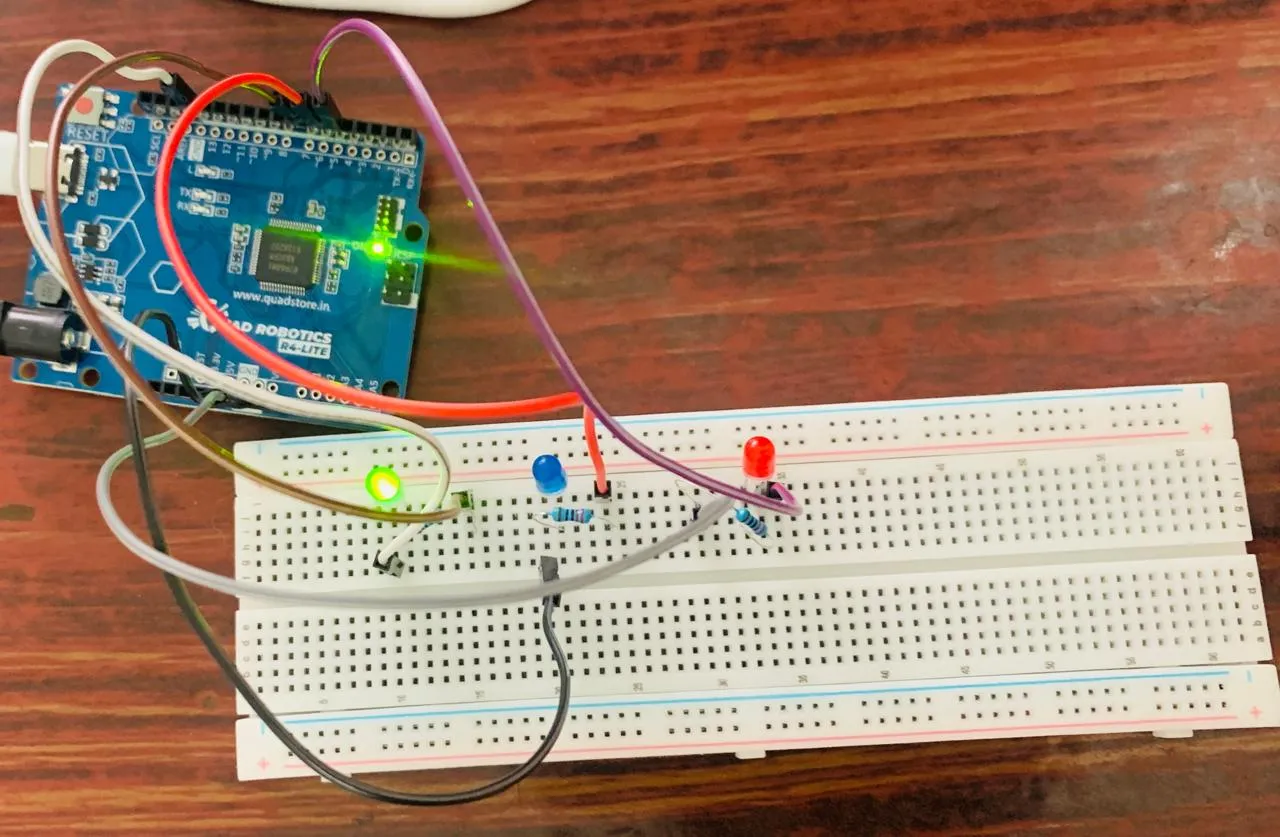
1. Traffic LEDs with 3 LEDs
Learn how to simulate a traffic light using three LEDs representing red, yellow, and green. Arduino controls each LED in sequence with timed intervals, demonstrating digital outputs and basic automation.
Output: A three-LED traffic light sequence.
2. LED Control Using a Push Button
Control an LED using a push button connected to the Arduino. When the button is pressed, the LED responds according to the programmed logic. This project introduces digital inputs and interactive circuit control.
Output: An LED that responds to a push-button press.
3. Passive Buzzer Sound
Generate different tones using a passive buzzer and Arduino. By changing the frequency of the signal, you can produce different pitches and experiment with sound generation.
Output: Audible tones generated by the Arduino.
4. Active Buzzer Sound
Use an active buzzer to produce a simple sound alert. Unlike a passive buzzer, an active buzzer has its own oscillation circuit and can produce sound when powered appropriately.
Output: A buzzer producing a continuous or programmed beep.
5. RGB LED Color Mixing
Explore color mixing using an RGB LED. By controlling the red, green, and blue channels, Arduino can produce a variety of colors and visual effects.
Output: An RGB LED displaying different colors.
6. Potentiometer-Controlled LED Brightness
Adjust LED brightness using a potentiometer. Arduino reads the analog input and uses pulse-width modulation (PWM) to control the LED’s brightness.
Output: An LED whose brightness changes as the potentiometer is rotated.
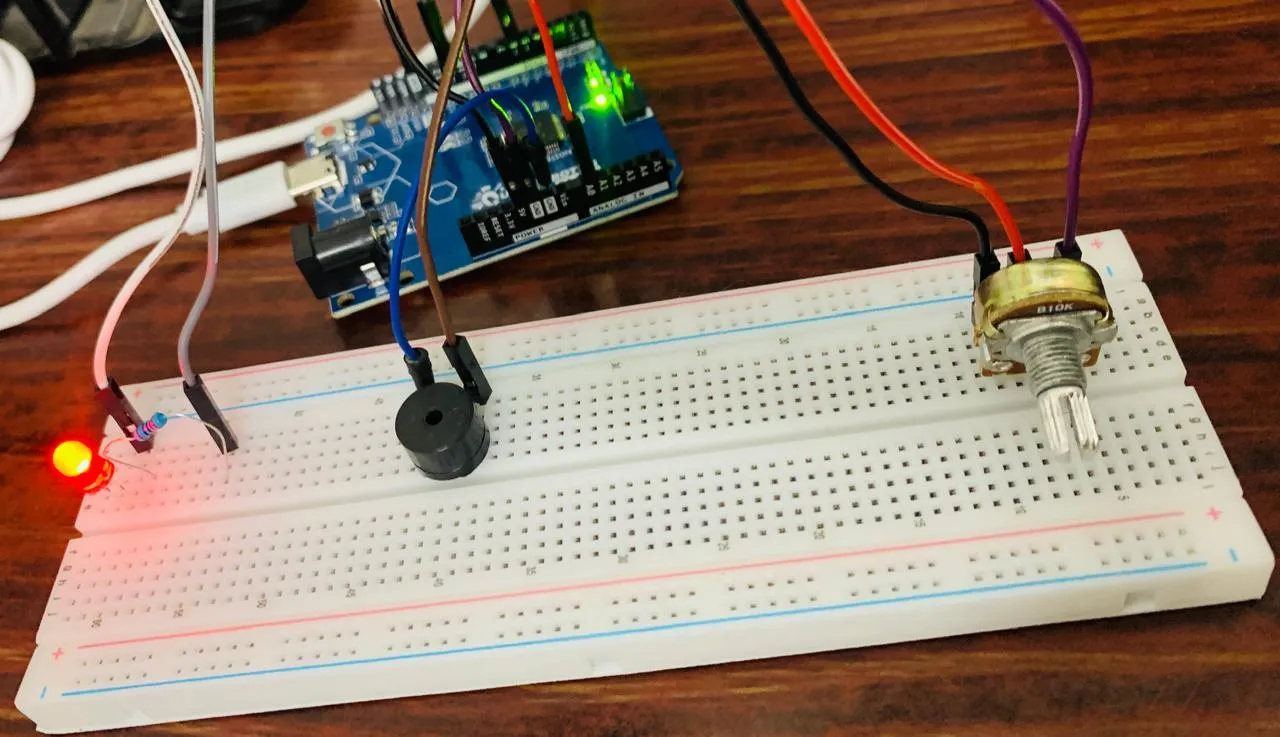
7. Potentiometer-Controlled LED and Sound
Combine a potentiometer, LED, and buzzer to create an interactive project. The potentiometer changes the input value, which Arduino uses to control LED brightness and sound characteristics.
Output: LED brightness and buzzer behavior responding to potentiometer adjustments.
8. Automatic Night Lamp
Build an automatic lamp using a light-dependent resistor (LDR) or another suitable light sensor. Arduino detects changes in ambient light and switches the LED on when the surroundings become dark.
Output: An LED that automatically turns on in low-light conditions.
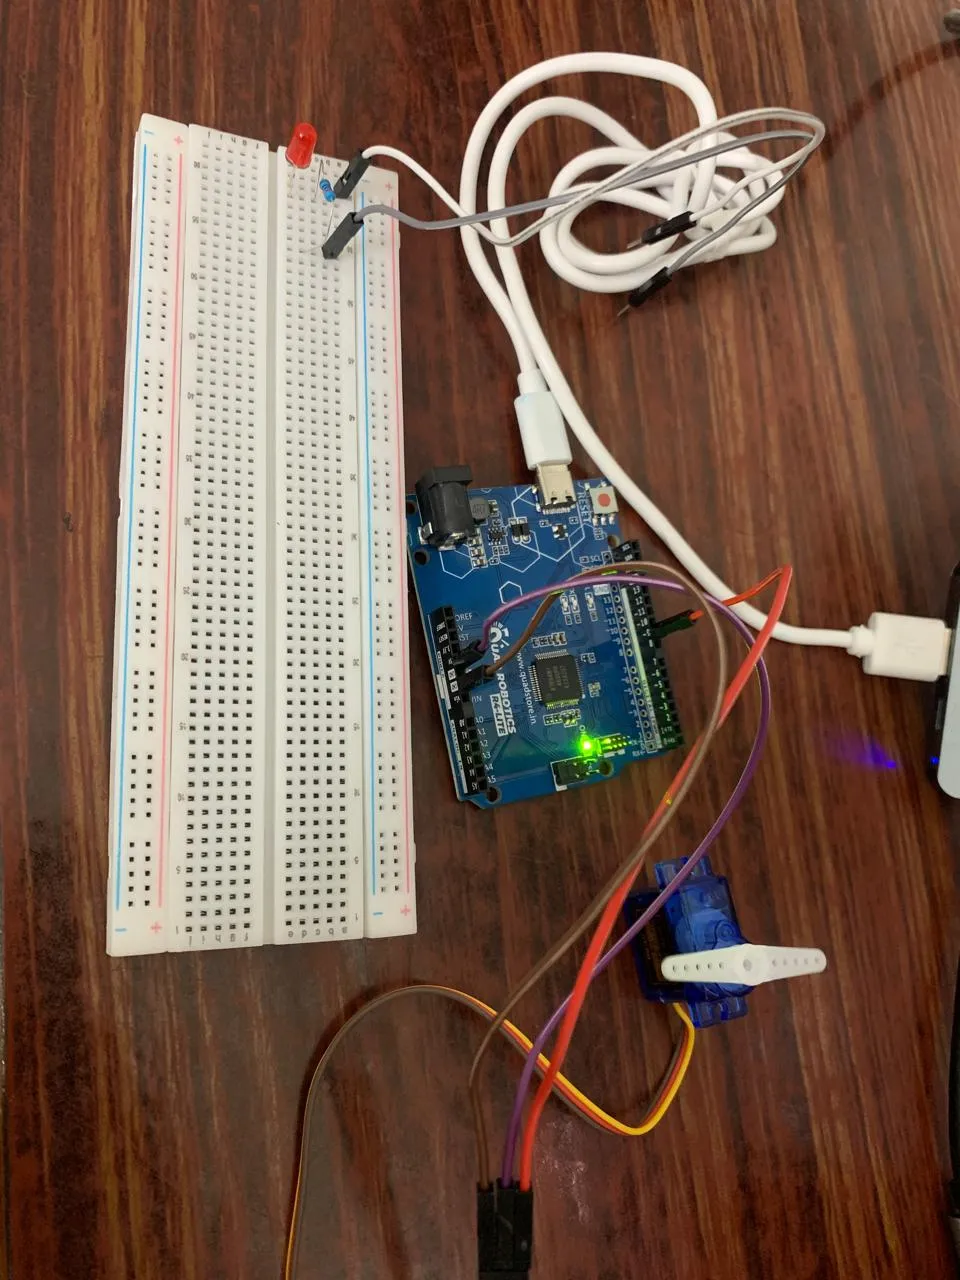
9. Servo Motor Sweep
Control a servo motor to move through a range of angles. This project introduces motor positioning and shows how Arduino can control mechanical movement.
Output: A servo motor sweeping back and forth between programmed angles.
10. Ultrasonic Distance Finder
Measure the distance to an object using an ultrasonic sensor such as the HC-SR04. Arduino calculates the distance from the time taken for the ultrasonic pulse to travel to an object and return.
Output: Distance measurements displayed in the Serial Monitor or another connected display.
11. DHT11 Weather Monitor
Measure temperature and relative humidity using a DHT11 sensor. Arduino reads the sensor data and presents the measurements for basic environmental monitoring.
Output: Temperature and humidity readings displayed in the Serial Monitor or an LCD.
12. Fire Sensor Alarm
Build a simple alert system using a fire or flame detection sensor and a buzzer. When the sensor detects a signal that meets the programmed threshold, Arduino activates the alarm.
Output: A buzzer alarm triggered by the sensor.
Note: This is an educational demonstration, not a substitute for a certified fire detection system.
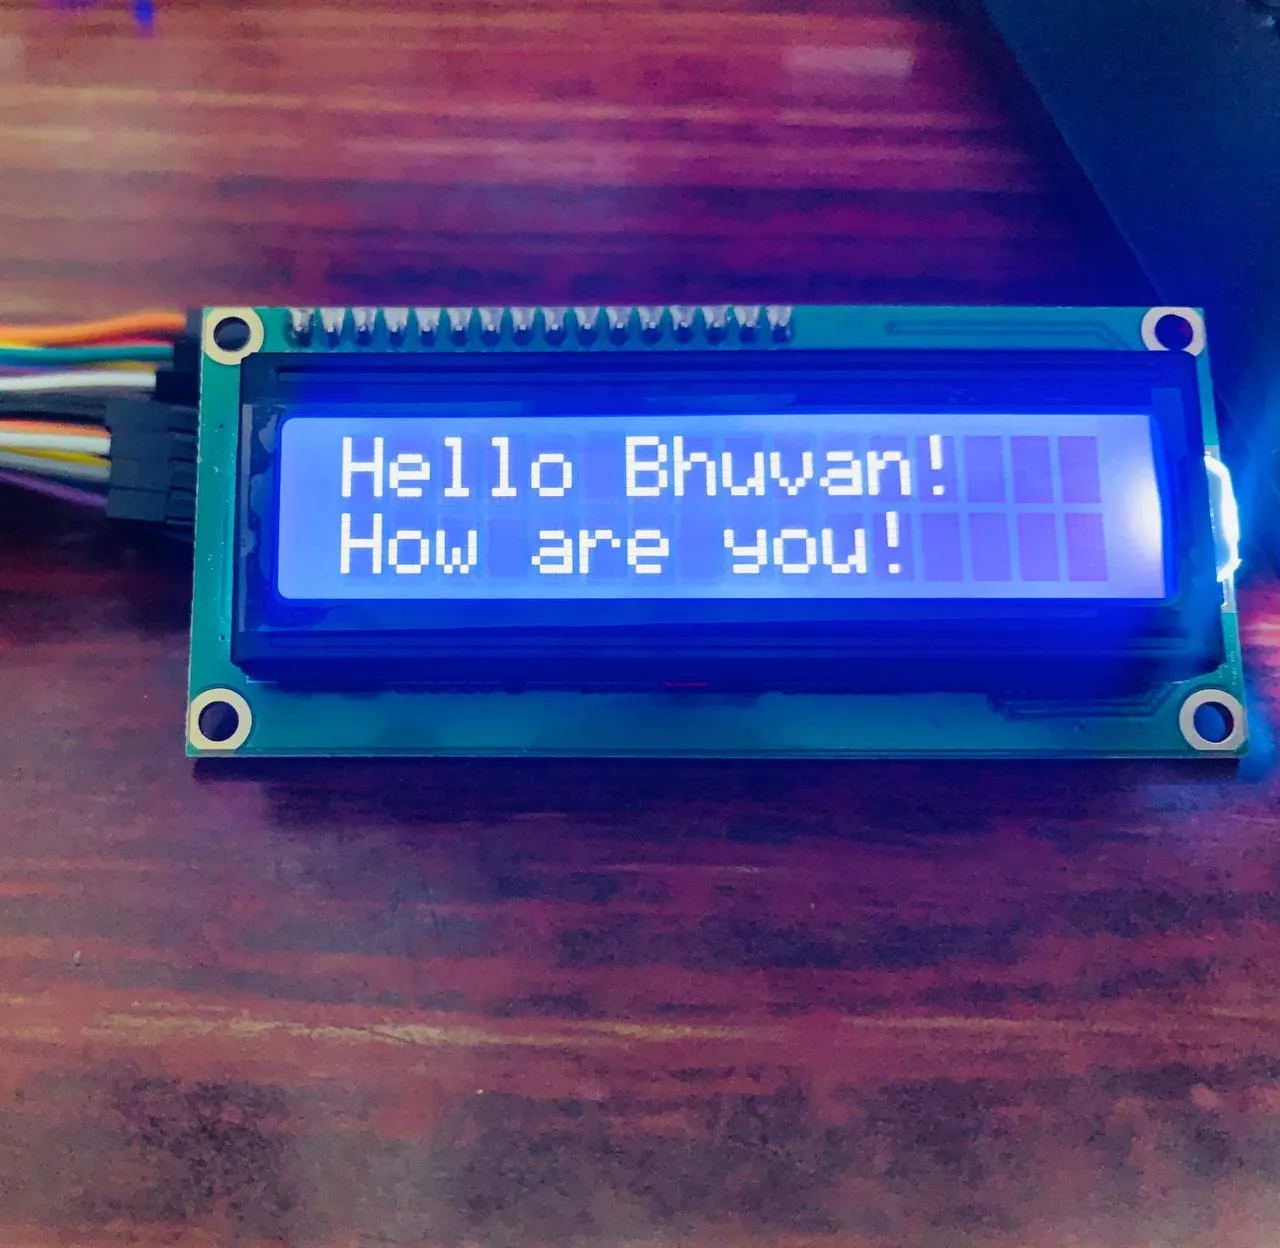
13. I²C LCD Display Basics
Learn how to connect an LCD to Arduino using an I²C interface. The interface simplifies wiring by reducing the number of Arduino pins needed to communicate with the display.
Output: Text and messages displayed on an LCD screen.
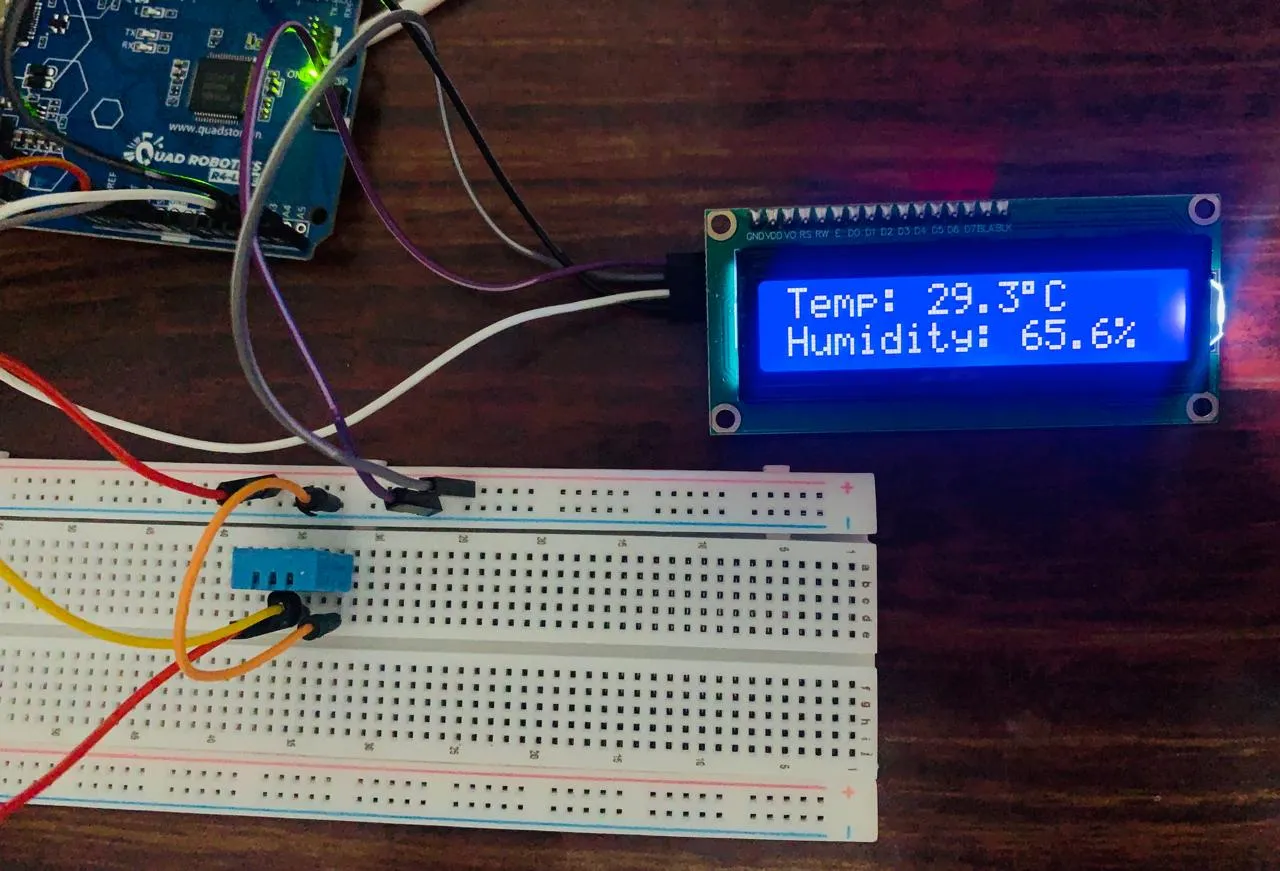
14. I²C LCD Temperature Display
Combine a temperature sensor with an I²C LCD to display live temperature readings. This project brings together sensor input, data processing, and visual output.
Output: Temperature readings displayed on the LCD.
15. Stepper Motor Control
Control a stepper motor using Arduino and a compatible motor driver. Explore how electrical step sequences control the motor’s rotation and positioning.
Output: A stepper motor rotating in a selected direction and through a programmed number of steps.
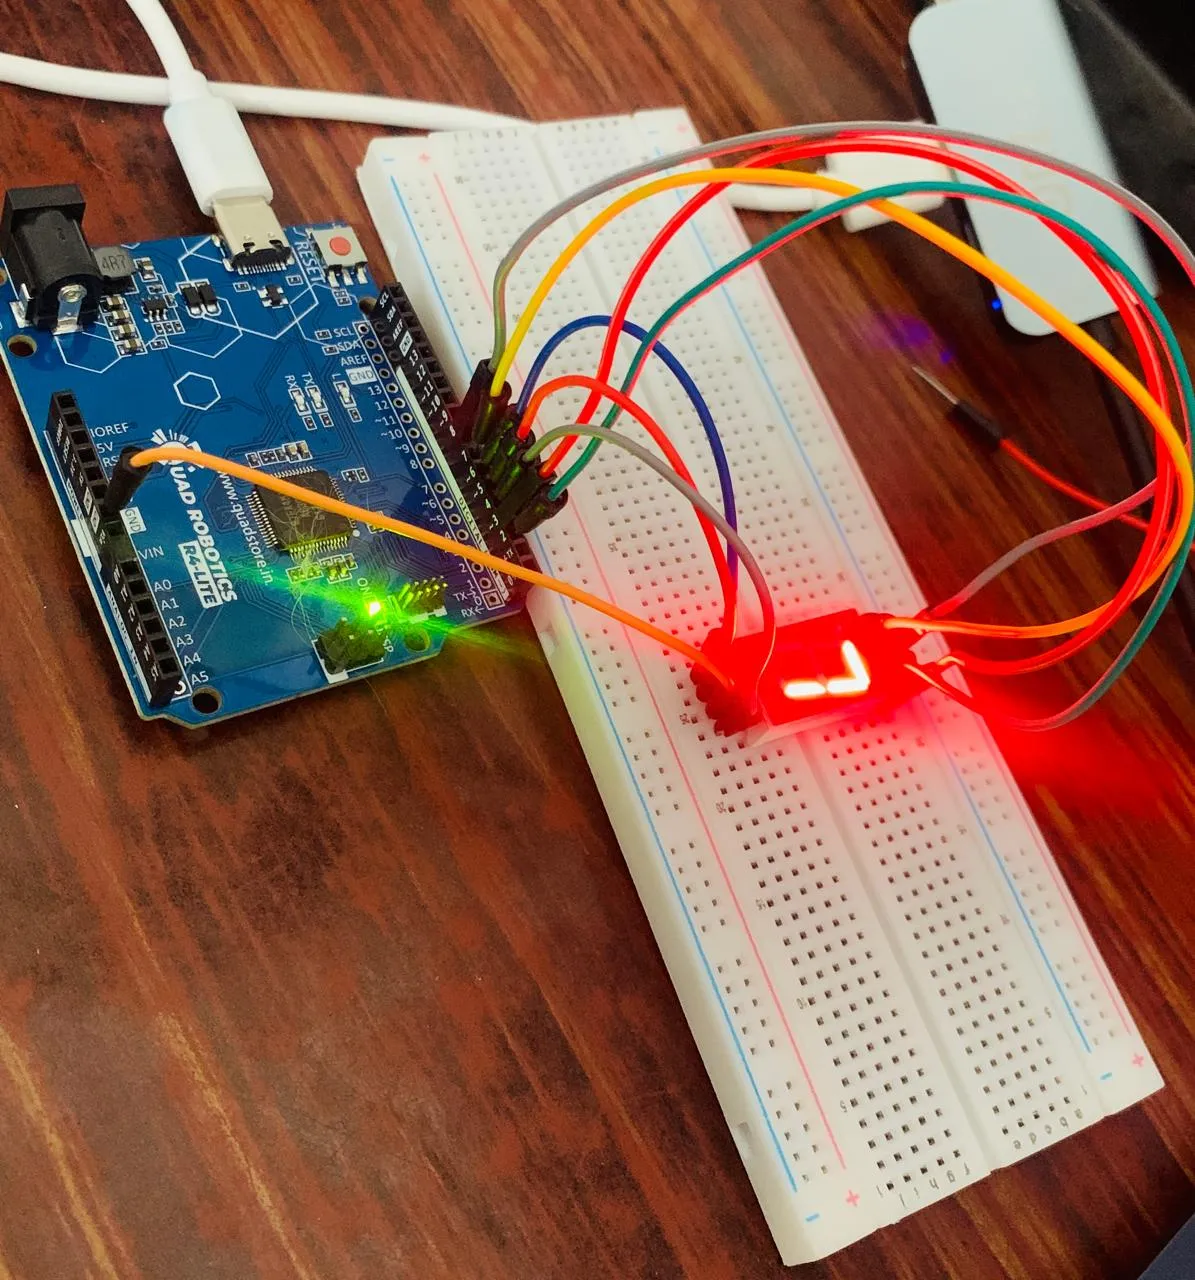
16. 1-Digit Seven-Segment Display
Display numerical digits using a single seven-segment display. Arduino controls the individual segments to form numbers from 0 to 9.
Output: Numerical digits displayed on a seven-segment module.
17. 4-Digit Seven-Segment Display
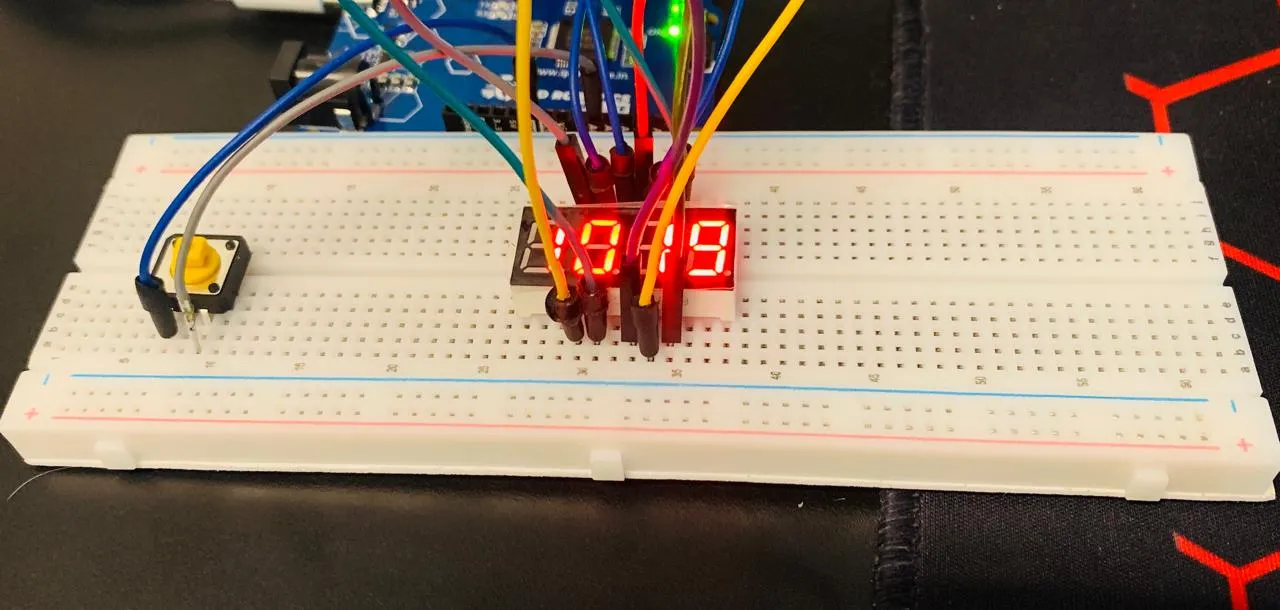
Extend the previous project by displaying multiple digits on a four-digit seven-segment display. Depending on the module, Arduino can use multiplexing or a dedicated driver to control the digits.
Output: Four-digit numerical values displayed on the module.
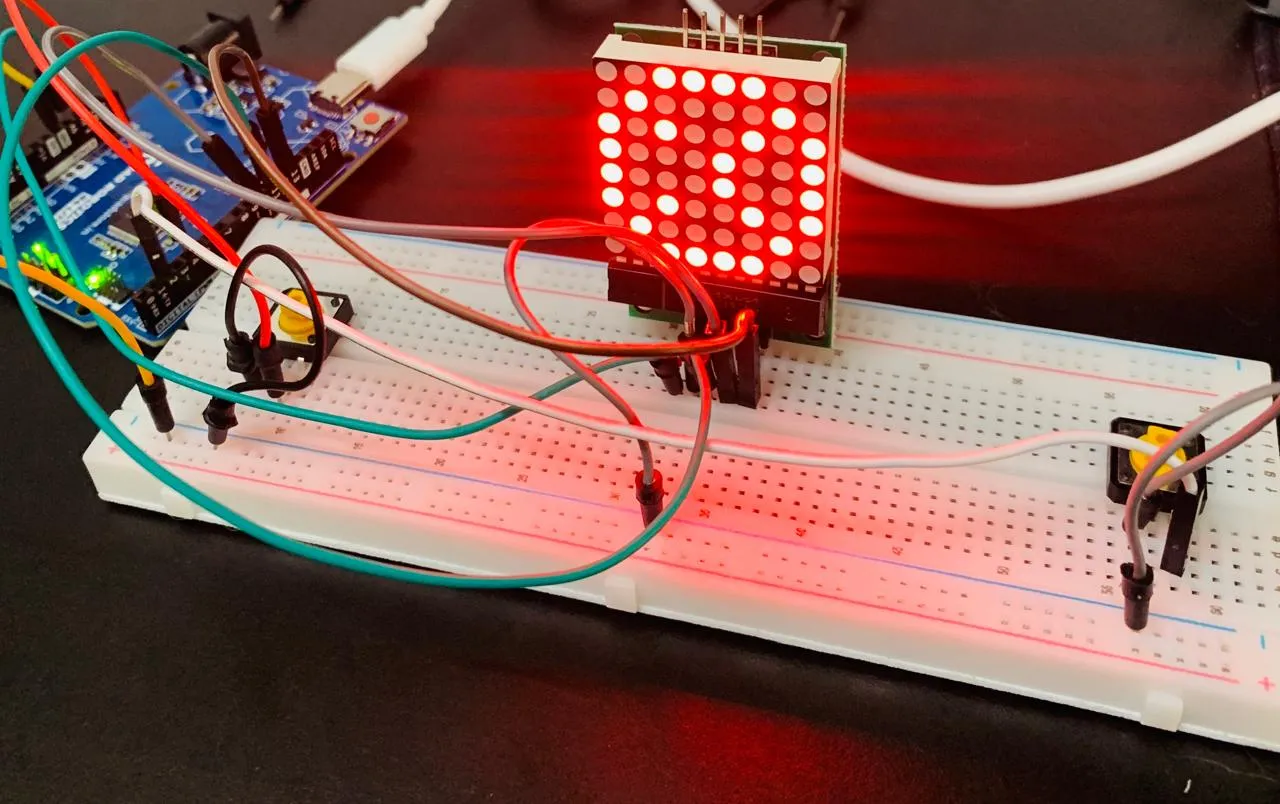
18. 8×8 Dot Matrix Display
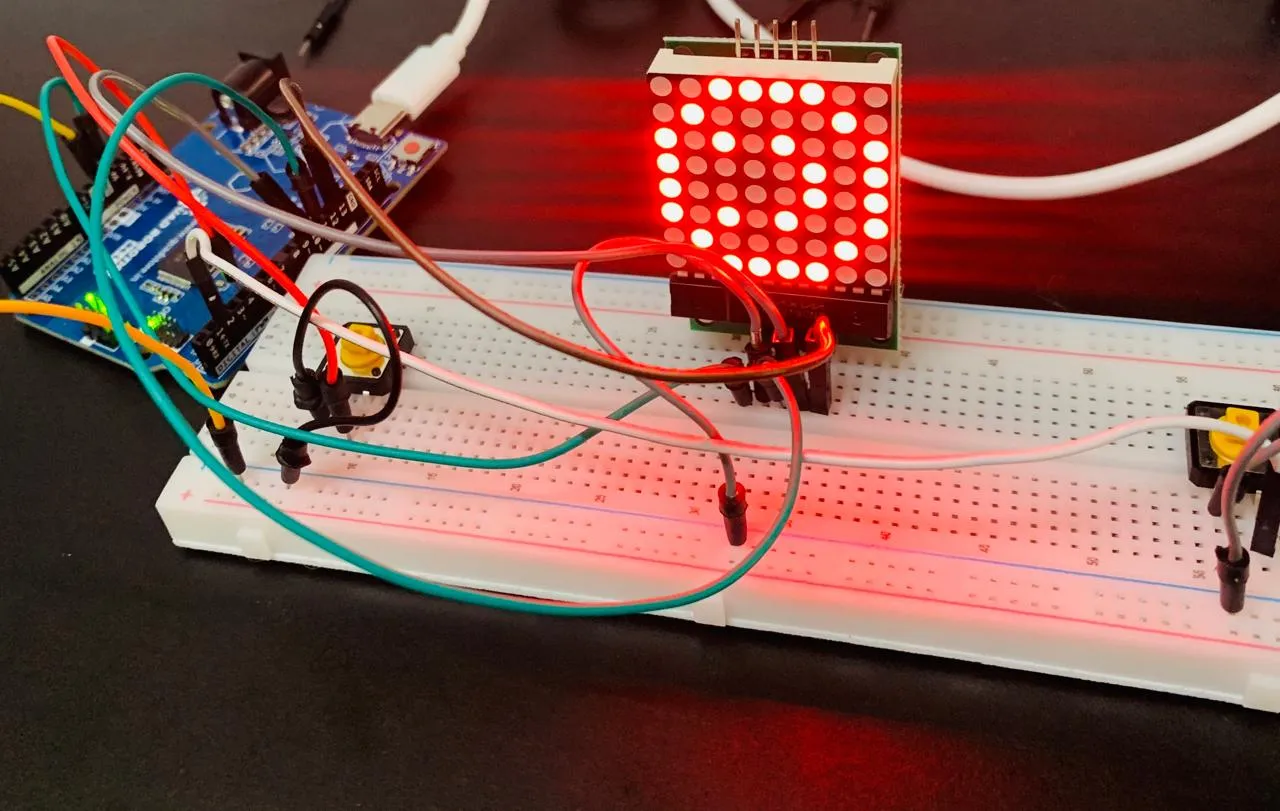
Explore an 8×8 LED dot matrix that contains 64 individual LEDs arranged in a grid. With Arduino and a compatible driver, you can display symbols, patterns, characters, and simple animations.
Output: Patterns, symbols, or animations displayed on an 8×8 LED matrix.
Conclusion
These 18 Arduino projects demonstrate how a simple microcontroller can control lights, generate sounds, interact with sensors, move motors, and display information.
Starting with basic input and output operations, each project introduces concepts that can be reused in more advanced embedded systems. You can build on these experiments to develop practical applications such as monitoring systems, automated lighting, alarms, and interactive electronic devices.
Stay tuned for more Arduino experiments and embedded systems projects.